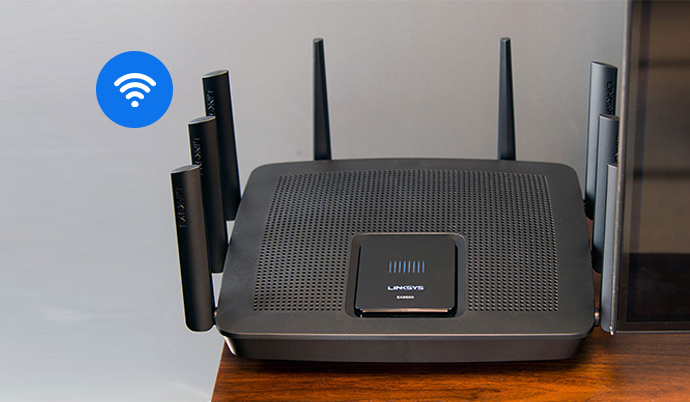
Linksys is known for its high-speed and innovative products. And recently, it has added another amazing router to the list. Yes, we are talking about the Linksys EA9500 Max-Stream AC5400 MU-MIMO Gigabit Wi-Fi router! The router is capable of delivering high-speed internet on multiple devices at once. If you are planning to purchase the device, you must learn the Linksys EA9500 setup process.
This blog will walk you through the steps to set up your Linksys EA9500 wireless router. We’ll also discuss the issues you could face along with the troubleshooting methods.
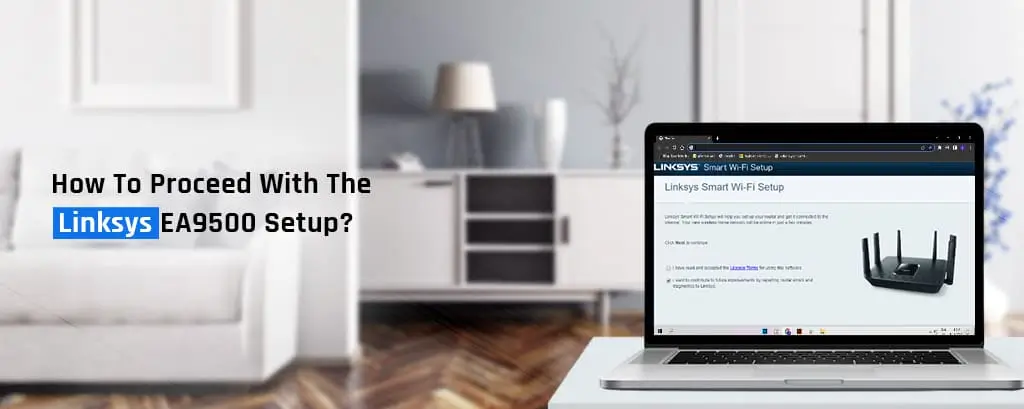
Easy Linksys EA9500 Setup- The Process
Important Points To Consider:
- Use your Linksys Smart Wi-Fi router to set up your home network.
- You can download the Linksys Smart Wi-Fi app to set up your router.
- Access the Linksys setup page to manage your home Wi-Fi using your smartphone.
The Setup Process
- Initially, position your router antennas in an upright position. Then, plug the power adapter cable into your router. Now, connect the power adapter to the power outlet and switch on the power supply.
- Next, connect an ethernet cable to your modem and to the internet/LAN port of your Linksys router. Now connect to the Linksys router network using your smartphone or the computer system.
- You can find the SSID and password on the router or in the product manual.
Configuring The Network Settings
- To begin with, open a web browser, and in the address bar. Type www.linksyssmartwifi.com and press the “Enter” key. If the web address doesn’t work, you can use the IP address 192.168.1.1.
- Tick the checkbox next to “I have read and accepted the License Terms for using this software” and click on the “Next” button.
- Now, the Linksys Smart Wi-Fi setup wizard will detect your internet connection. If you have a DSL connection, the setup wizard will ask you for the PPPoE username and password.
- Type in the same and click on the “Next” button. Once the router wizard detects the connection, it will check for firmware updates.
- Hereon, from the Updates for your router window, click on the radio button to enable automatic updates. Click on the “Next” button to proceed further.
- After that, in the next steps, you must configure the SSID and password for your Linksys EA9500 router. Once you have entered the details, click on the “Next” button.
- On the next screen, you’ll need to specify the admin password and a password hint. This will work to ensure device security and keep away hackers.
- At last, the final window will display the network configurations you have just made. You can note them down and click on the “Next” button.
Finally, you can create a new Linksys account or sign in to an existing one to finish the Linksys EA9500 setup process.
Common Troubleshooting Tips
There are times when a user gets an issue while accessing their Linksys router. In such scenarios, you can follow the standard troubleshooting steps.
- If you are unable to access the user interface, it means you don’t have a connection with the route. Some other reasons why you may be facing this issue is you are not spelling the address correctly.
- Resolving the issue involves using the correct email address. Check if you are using the correct web address. The correct web address is “http://myrouter.local”. If you want you can also use the default IP address for accessing the online setup wizard. Try using 192.168.1.1 to access the same.
- If you are sure you are using the correct email address, make sure the wired connections to the devices are intact. Also, the cable connection with the router and the modem isn’t loose. In case you are facing issues, fix them and try to access the web address again.
If you still have queries left regarding the Linksys EA9500 Setup, you can get in touch with our expert team right now.