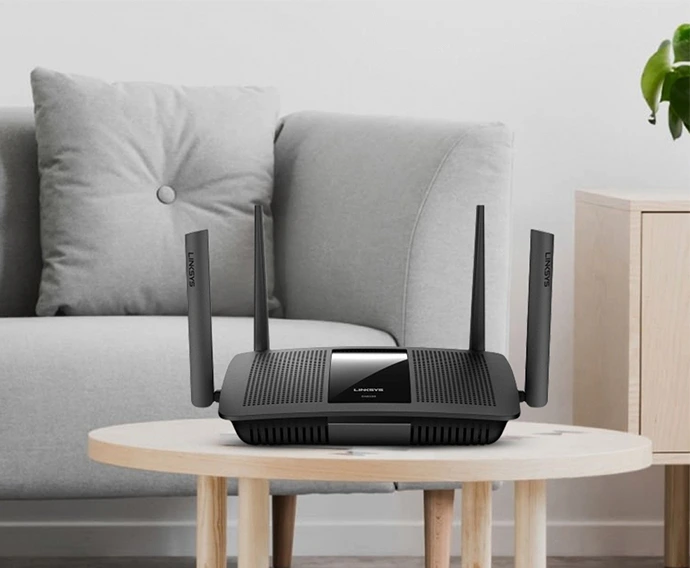
Linksys has a number of high-speed routers and extenders. One such device from Linksys is the EA8500, a 4×4 802.11AC MU-MIMO Gigabit router. The Linksys EA8500 router comes with a combined data rate speed of up to 2.53 Gbps. If you are looking forward to purchasing a Linksys EA8500 dual-band router, this router can serve better than ever data speeds. Furthermore, it is important that you learn about the Linksys EA8500 Setup process.
That’s why, today we have brought you the ultimate post to help you with the procedure. This blog will walk you through the Linksys router setup steps. Moreover, we’ll also help you proceed with the Linksys router installation steps. Keep reading ahead to find out more.
Linksys Smart Wi-Fi Setup Process
Before you begin with the Linksys router setup, make sure to install the Linksys app on your smartphone. You can download the Linksys app from both Google Play Store and App Store.
If you already have the app on your phone, make sure it is on the latest version. Once done, you can proceed with the setup steps.

Installing Your Linksys EA8500
- Initially, connect the adjustable Wi-Fi antennas to the Linksys router by plugging them into their dedicated slots.
- Next, connect one end of an Ethernet cable to your modem and the other end to the LAN port of your Linksys router.
- Also, connect the power cable to the router and the other devices. Wait for a minute until the power indicators on the front panel become solid.
- Finally, open the Wireless Networks section of your smartphone and connect to the router’s SSID. The SSID can be found on the product label of the device.
Note: Connecting to your Linksys router network is important. If you aren’t connected to the local device network, you won’t be able to access the default login page.
Once you have a connection with the local device network, you can begin with the Linksys router setup process.
Configuring The Linksys EA8500 Network Settings
- To begin with, launch the Linksys Smart Wi-Fi app and click on the “Launch Setup” button.
- Now, you will be asked to turn ON the device’s Bluetooth. Here, click on the “I would rather set up without Bluetooth” option.
- Click on the Agree button on the Terms and Conditions page.
- On the next step, select the Standard Wi-Fi Router option when prompted.
- You’ll be shown some steps on the screen, which you’ll need to follow. Afterward, click on the “Find My Router” button.
- On the next screen, click on the “Continue” button. From the following screen, click on the checkboxes next to the statements shown and click on the “Next” button.
- Hereon, enable the automatic updates feature and again click on the “Next” button.
- From the next screen, edit the WiFi Name, and the Password details for both bands and click on the “Next” button once done.
- After that, connect to your new Wi-Fi name, and once connected, the setup will resume where you left it. From the screen being displayed, click on the “Next” button.
- Now create an admin password for your router and also create a password hint if you like. Once done, click on the “Next” button.
- At last, the final screen will show you the summary of the wireless network you have just set up. You can note down the same if you want and click on the “Next” button.
Conclusion
You can now create a new Linksys account on the app or login into an already existing one. Once you are signed in, click on the Next button and you are done with the setup process. Now, you can enjoy a high-speed internet connection and stream in top quality.
Need more help with the Linksys EA8500 setup process? Get in touch with the team at our end now!

