Nowadays, the Velop Pro 7 mesh network is the leader in wireless technology that provides impeccable connectivity to your home and commercial places. However, this router is designed with the wifi 7 technology to provide you with super-fast speeds and high-end security. All you need to do is execute the Linksys velop Pro 7 setup to make the most of it.
In addition, configuring the Velop Pro 7 is quite simple as it has a very simple web interface. Similarly, you can opt for the web address, pair button, plug-and-play setup, 5-button push setup, or the Linksys application to carry out the Linksys velop Pro 7 wifi mesh system setup. Further, to explore more about the configuration of this mesh system, must read this guide.
Detailed steps to conduct Linksys velop Pro 7 setup
Moreover, while you are going ahead to start the Pro 7 router setup, you must gather a few of the primary essentials, like an active internet connection, a web address, the Linksys app, valid user credentials, a computer/smartphone, etc. After having all these things, let’s begin with the Linksys velop Pro 7 wifi mesh system configuration:
Web Portal
- First and foremost, ensure your master router and child nodes are placed closer to each other.
- After that, check the power on Linksys Velop Pro 7 wifi mesh system.
- Next, join your computer/laptop to the Linksys Velop’s network.
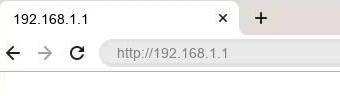
- Further, launch the web browser and type in linksyssmartwifi.com or 192.168.1.1 IP address in the browser bar.
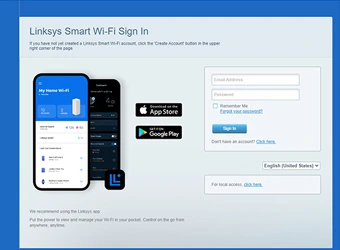
- Now, enter the accurate cloud account admin details on the login window that appears to you.
- Hereon, tap on the CA link at the bottom of the computer screen.
- After that, click on CA Router Setup>Create SSID name and password.
- Create a new network name and password in the given fields and click on Apply.
- Further, click on the Setup Node and type in the previously written SSID and password.
- Now, wait until the Status LED on the parent node turns to solid white.
- Similarly, to configure the child nodes, go back to the dashboard and tap on the CA link again.
- Here, tap on CA Router Setup and then on the Add Child Node option.
- Afterward, follow the given guidelines to end the configuration.
- Remember to click on Apply to implement the modified changes.
- Finally, you are all set with Linksys velop pro 7 setup.
Linksys Application
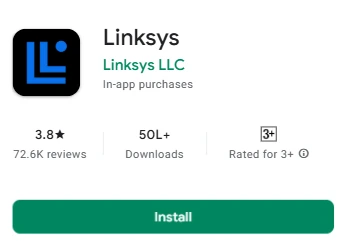
- Initially, check that you use an upgraded version of the Linksys app on your smartphone.
- Now, link your smartphone to the Velop Pro’s network.
- Next to this, click on Manage your wifi/Setup a New WiFi Network on the iOS phone and Login if you use an Android cellphone.
- After logging in, click on Velop & Mesh Routers.
- Further, enable Bluetooth on your mobile device (If prompted).
- After that, click on Next (If the parent node is powered on) and tap on “It’s Connected.”
- Next, check that all the Velop Pro nodes are turned on and have a solid light. At the same time, click on “Node light is solid.”
- Place your smartphone closer to the Velop nodes, and the network search will begin.
Give your network a new name & connect successfully
- Afterward, choose your connection type, and a new page appears to you as “Name your wifi.”
- Here, select the same wifi settings as you used before or create a new one.
- To create the new settings, click on “No, create new wifi settings.”
- At the same time, a Privacy Pledge screen displays to you. Tap on Continue when you get ready.
- Now, a new login page appears as “Login with your Linksys Cloud Account” for remote access to your device.
- If you do not have a cloud account, then click on “Create Account” or tap on the “Skip for Now” option to create it later.
- Hereon, wait for some time until the Linksys velop Pro 7 setup process ends.
- Your screen shows the “Home WiFi created” message on top.
- You see here the Linksys Velop Pro 7 wifi mesh system parent node as router and available child nodes.
- Similarly, you can add and configure the child nodes by clicking “Add more nodes.”
- After that, click on Next and then on Finish when you are done configuring all the nodes.
- At last, the Velop pro setup ends successfully.
Wrapping up
In a nutshell, you find the deep insights on Linksys velop pro 7 setup process. Here, you find two different methods, i.e., a web portal and the application to carry out the configuration of this mesh network. You can check the detailed steps mentioned in the given sections and opt for the procedure you find easy.