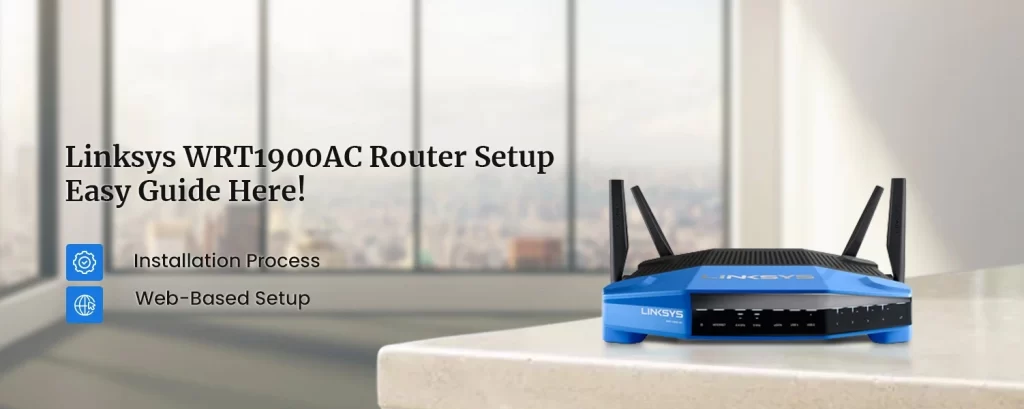
Linksys WRT1900AC comes from the portfolio of a world-renowned networking device manufacturer Linksys. The Linksys WRT1900AC router comes loaded with a steadfast processor. This router deals better with multi-user setup demands. Being a dual-band router, you can easily obtain 600Mbps speed on the 2.4GHz band and around 1300Mbps on the 5GHz band. If you have recently bought this router, you should focus on the Linksys WRT1900AC router setup process. In this blog, you’ll find some important information regarding Linksys WRT1900AC installation and configuration.
Ways You Can Setup Your Linksys WRT1900AC Router
- No Setup CD and additional software are required.
- Download the Free Linksys Smart WiFi App to set up your home network.
- Set up your router using your Android/iOS device.
- Use the web-based settings management wizard for setup.
How To Proceed With Linksys WRT1900AC Router Setup?
To set up your Linksys router, you require the default IP address or the web address. From this address, you can access the login page and configure the router correctly. We have divided the setup procedure into three ways to make it easier for the users. You can follow the steps below to set up the router properly:
Installation Process For Linksys WRT1900AC
- To begin with, disconnect the old router and unplug all your devices from the electrical outlet. Remove the batteries, if there are any.
- Now, connect the external antennas to the device, and plug them into the router power source. After this, push the power button into ON mode.
- Hereon, connect the internet cable to your router and the other end of the cable to the router’s internet port. Here, you have to wait until the Power Indicator LED becomes solid. Once it does, you are good to go with the setup process.
- Go to your system’s wireless network settings and connect to the Linksys router network. Locate the SSID from the list of available networks and click on the “Connect” button. If you are using a wired connection to connect your router to the desktop, you can skip this step.
Accessing The web-based Setup Wizard
- Firstly, open a web browser, and type the web address or the IP address in the address bar. You can use https://www.linksyssmartwifi.com or https://www.myrouter.local as the default web address, and https://192.168.1.1 as the default IP address.
- Hereon, press the Enter key or click on the “GO” button and the default login page will appear. Here, you’ll see the default username and password fields.
- Use the word “admin” in both the username and password fields and click on the “Login” button.
- At last, you’ll now see the Linksys WRT1900AC router setup wizard appear on the screen. From the welcome screen, click on the Start Setup/ Next button.
Configuring The Router Network settings
- Initially, the setup wizard will first detect the internet connection type. If you are using a DSL connection, you’ll need to provide the PPPoE username and password details. Once you have entered the details, you can proceed with the steps mentioned below to set up the Linksys router:
- Now, in the SSID field, define a network name which you would like to identify the network with. In the Network Security Type, select WPA2-PSK, and in the password field, define an 8-character long password. Do the same for the 5GHz network band as well. Once you have defined the values, click on the “Next” button.
- In the next window, the router setup wizard will show you a summary of the network configuration. You can review them, record them, and then click on the “Next” button again.
- Finally, the setup wizard will now ask you to sign in to your Linksys account. If you do not have a Linksys account, you can create a new one. Once done, click on the Save button and the Linksys WRT1900AC router setup process will conclude.
If you face any issues completing the Linksys WRT1900AC setup process, you can always get in touch with the team at our end for help.

